


It’s a common complaint for music producers and DJs: why can’t I have a pair of in-ear monitors that fit snugly to my ears? You can avoid a trip to the audiologist with a simple set of custom moulded earplugs like the Earjobs DIY Ear Plug Kit. In this guide, we’ll run through how with a few simple tools from around the house you can make a set of plugs that fit snugly and securely around your in-ear monitors.
What you’ll need
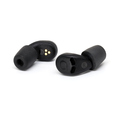
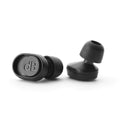
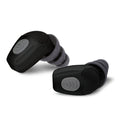
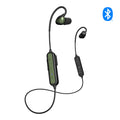
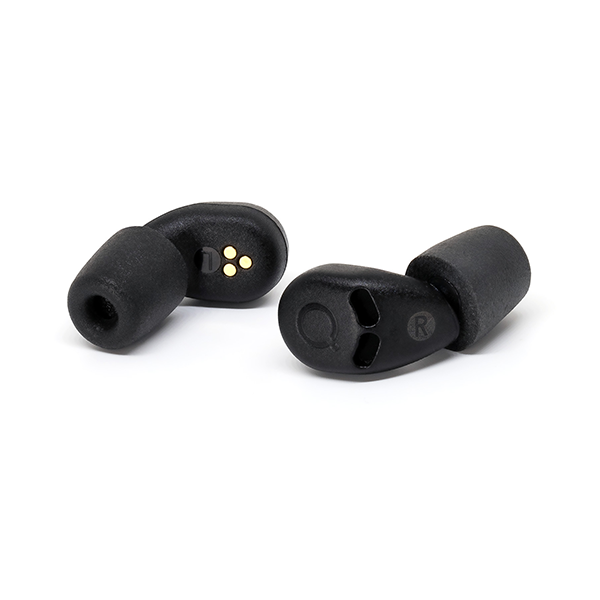
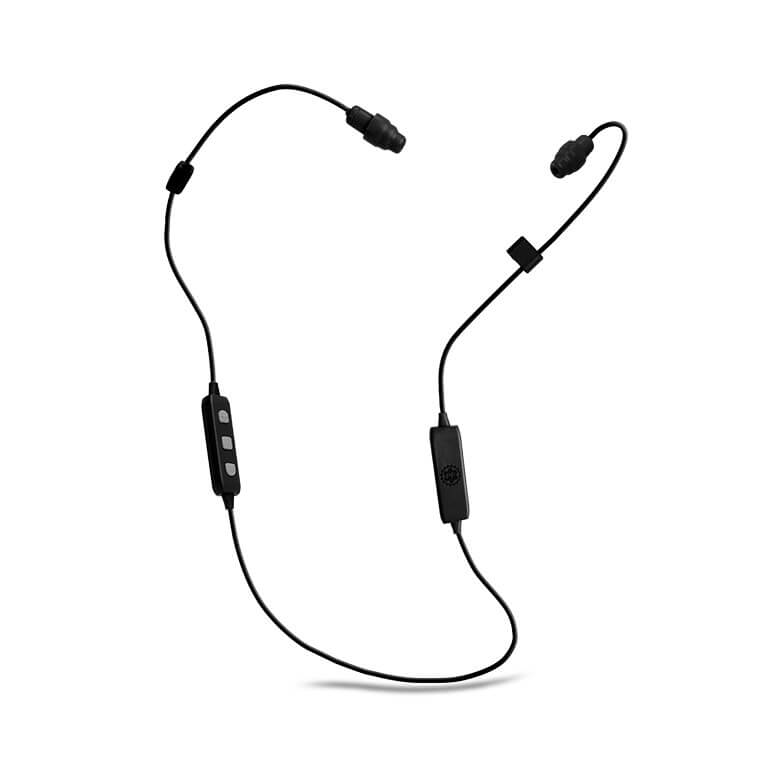
- In-Ear Monitors (these can be a cheap pair from Amazon or your preferred set, just make sure the ear tips are removable. You want a set that can be reduced to just the stem).
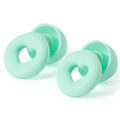
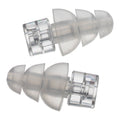
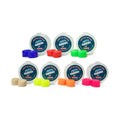
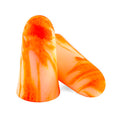
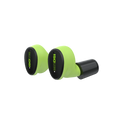
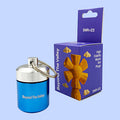
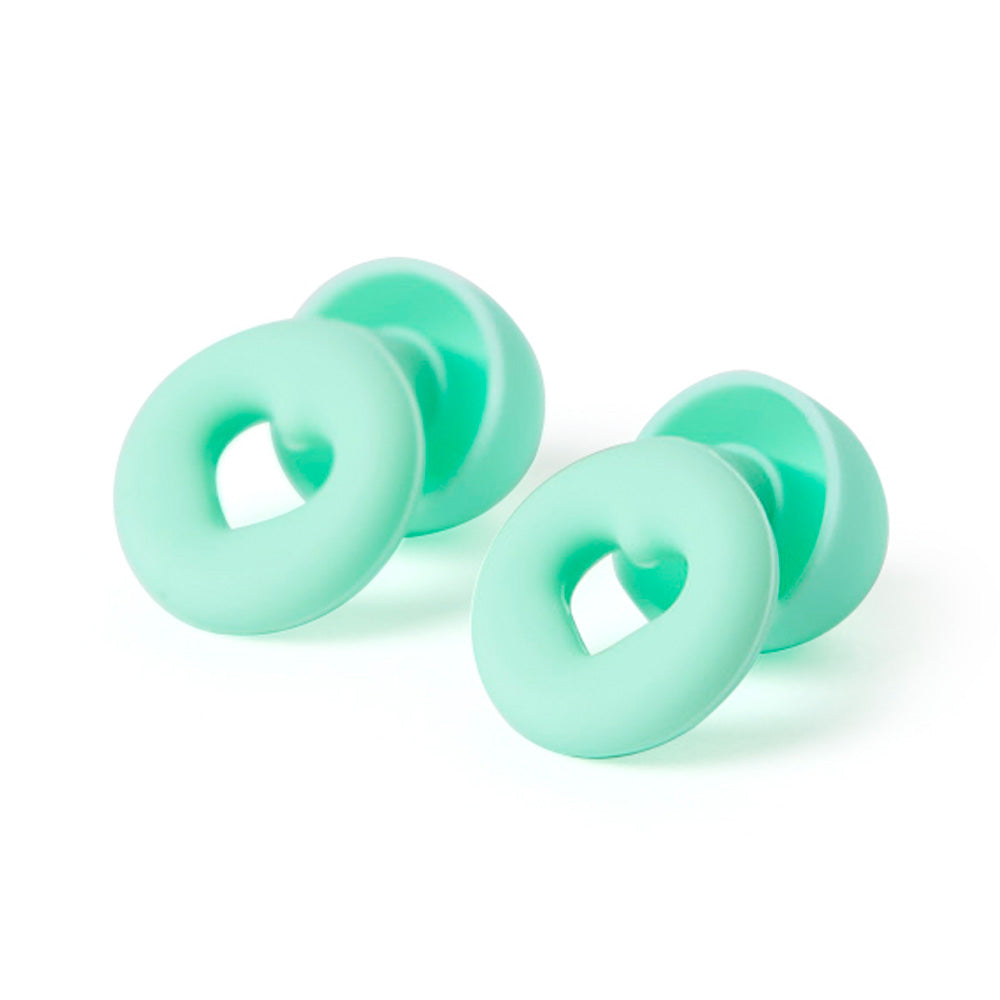
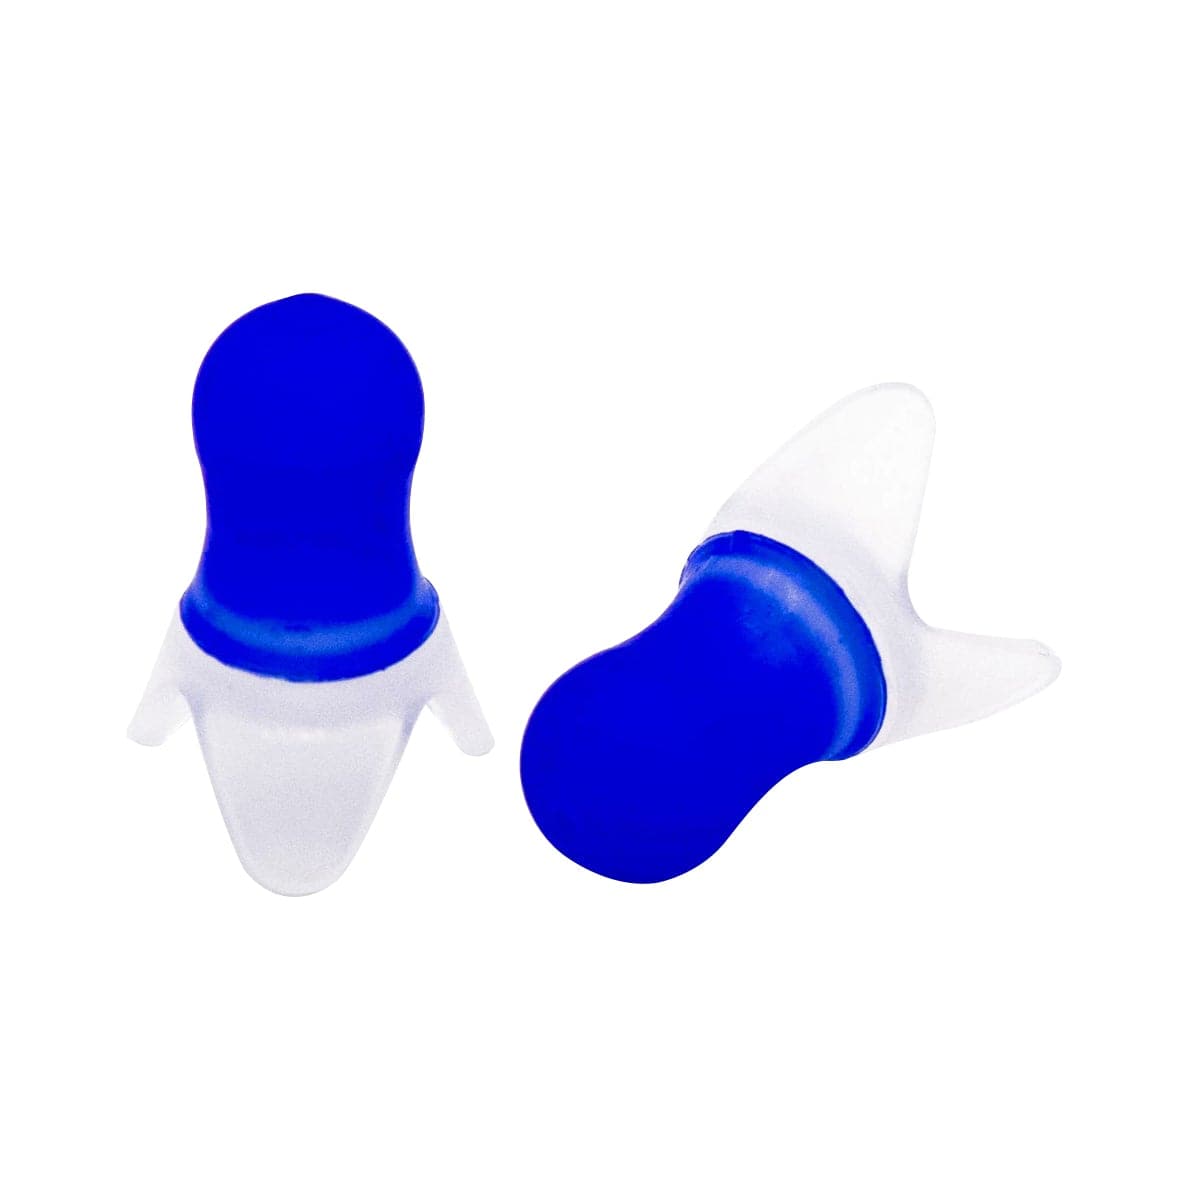
- A set of Earjobs DIY Custom Moulded Ear Plugs
- A drill

Before beginning, we recommend you watch this short video showing how the Earjobs DIY Custom Moulded Ear Plugs work. This will prepare you for the process.
- Remove the ear tips from your in-ear monitors.
When you make a custom set, you want only the bare bones of the ear phone. Remove the tips and forget about them: the DIY set will form a new tip that fits far more comfortable and snugly in your ear.

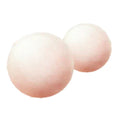
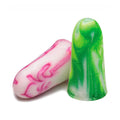
- Separate the putty, noting which set will be used for each ear.
DIY kits work through chemical reactions: two separate substances are mixed and, once together, begin hardening into a set of reliable, reusable ear plugs. You want to make sure your hands are clean and ready to go BEFORE starting. Remember: the timer begins the moment the substances are mixed, you have to go fast! It’s best if you go one ear at a time, so put half of each substance aside and only focus on making your first ear plug.

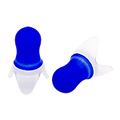
- Mix the substances together and, either on your own or with a friend, shape into the ear.
Paying attention to the time, mix the substance and, as quickly as possible, get it into your ear. It doesn’t need to go deep into the ear canal, but it should fill as much of the space around the ear as is comfortable. Smooth it out with the tip of your fingers for a nice finish.

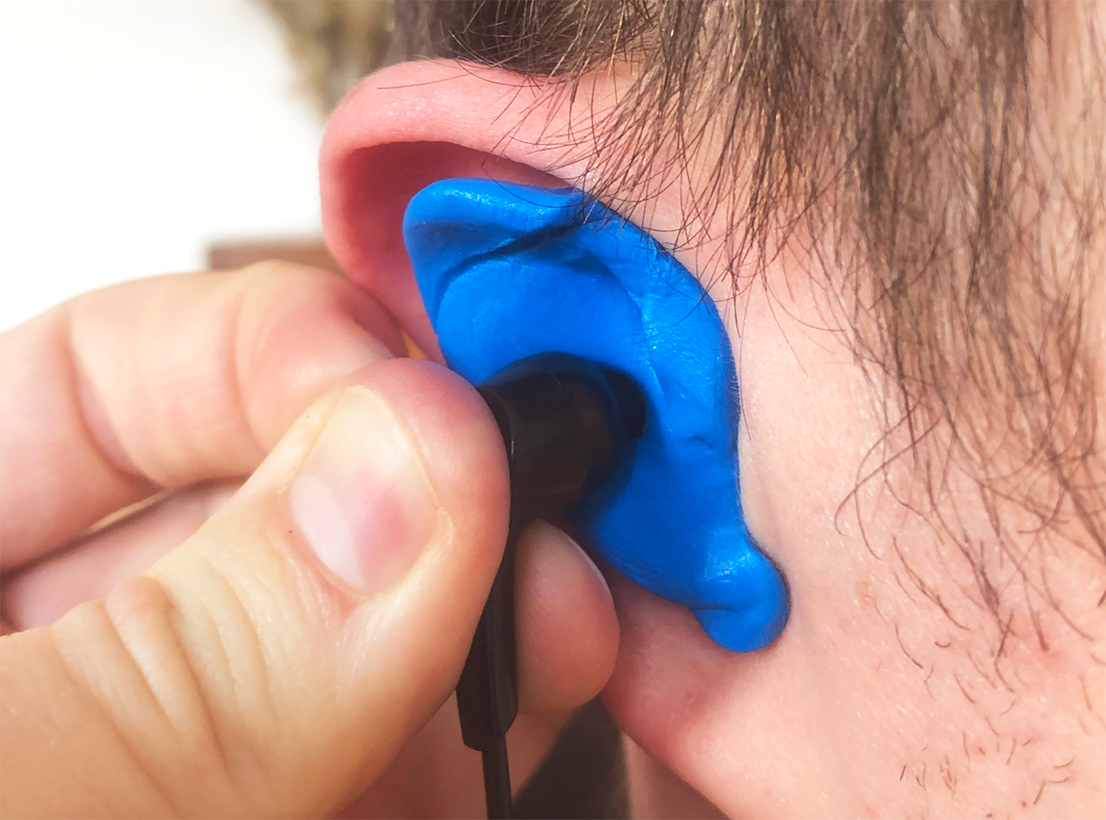
- Press the in-ear monitor into the still-soft material.
Make sure when you press the in-ear monitor into the material you are inserting it as if you were simply inserting a pair of ear buds into your ear. It should enter directly over the ear canal, facing into the ear. The in-ear monitor needs to be angled such that it can pass music through and into the ear: otherwise you risk drilling a hole and finding that your music is playing into the wrong part of the ear. Once you have established the angle and the shape of the in-ear monitor, gently remove the monitor from the putty and allow them to continue setting in your ear. The longer the better, we recommend at least five minutes.

- Do the same for the other side.
You can do these in either order: we recommend doing each side individually so you can entirely focus on getting each one right. No need to rush.
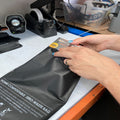
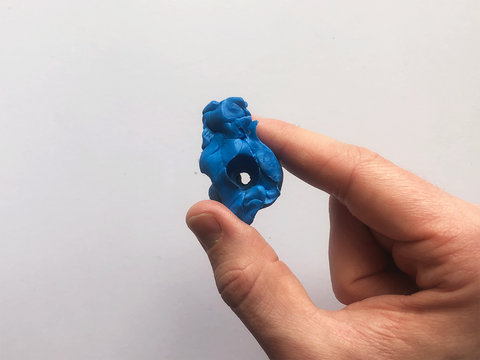
- Remove the plug from your ear and using the drill, drill a small hole through where the in-ear monitor was inserted.
Begin with a small drill tip and, if necessary, widen the hole later on. The drilled hole should allow the in-ear monitor to transit music directly through to the ear.


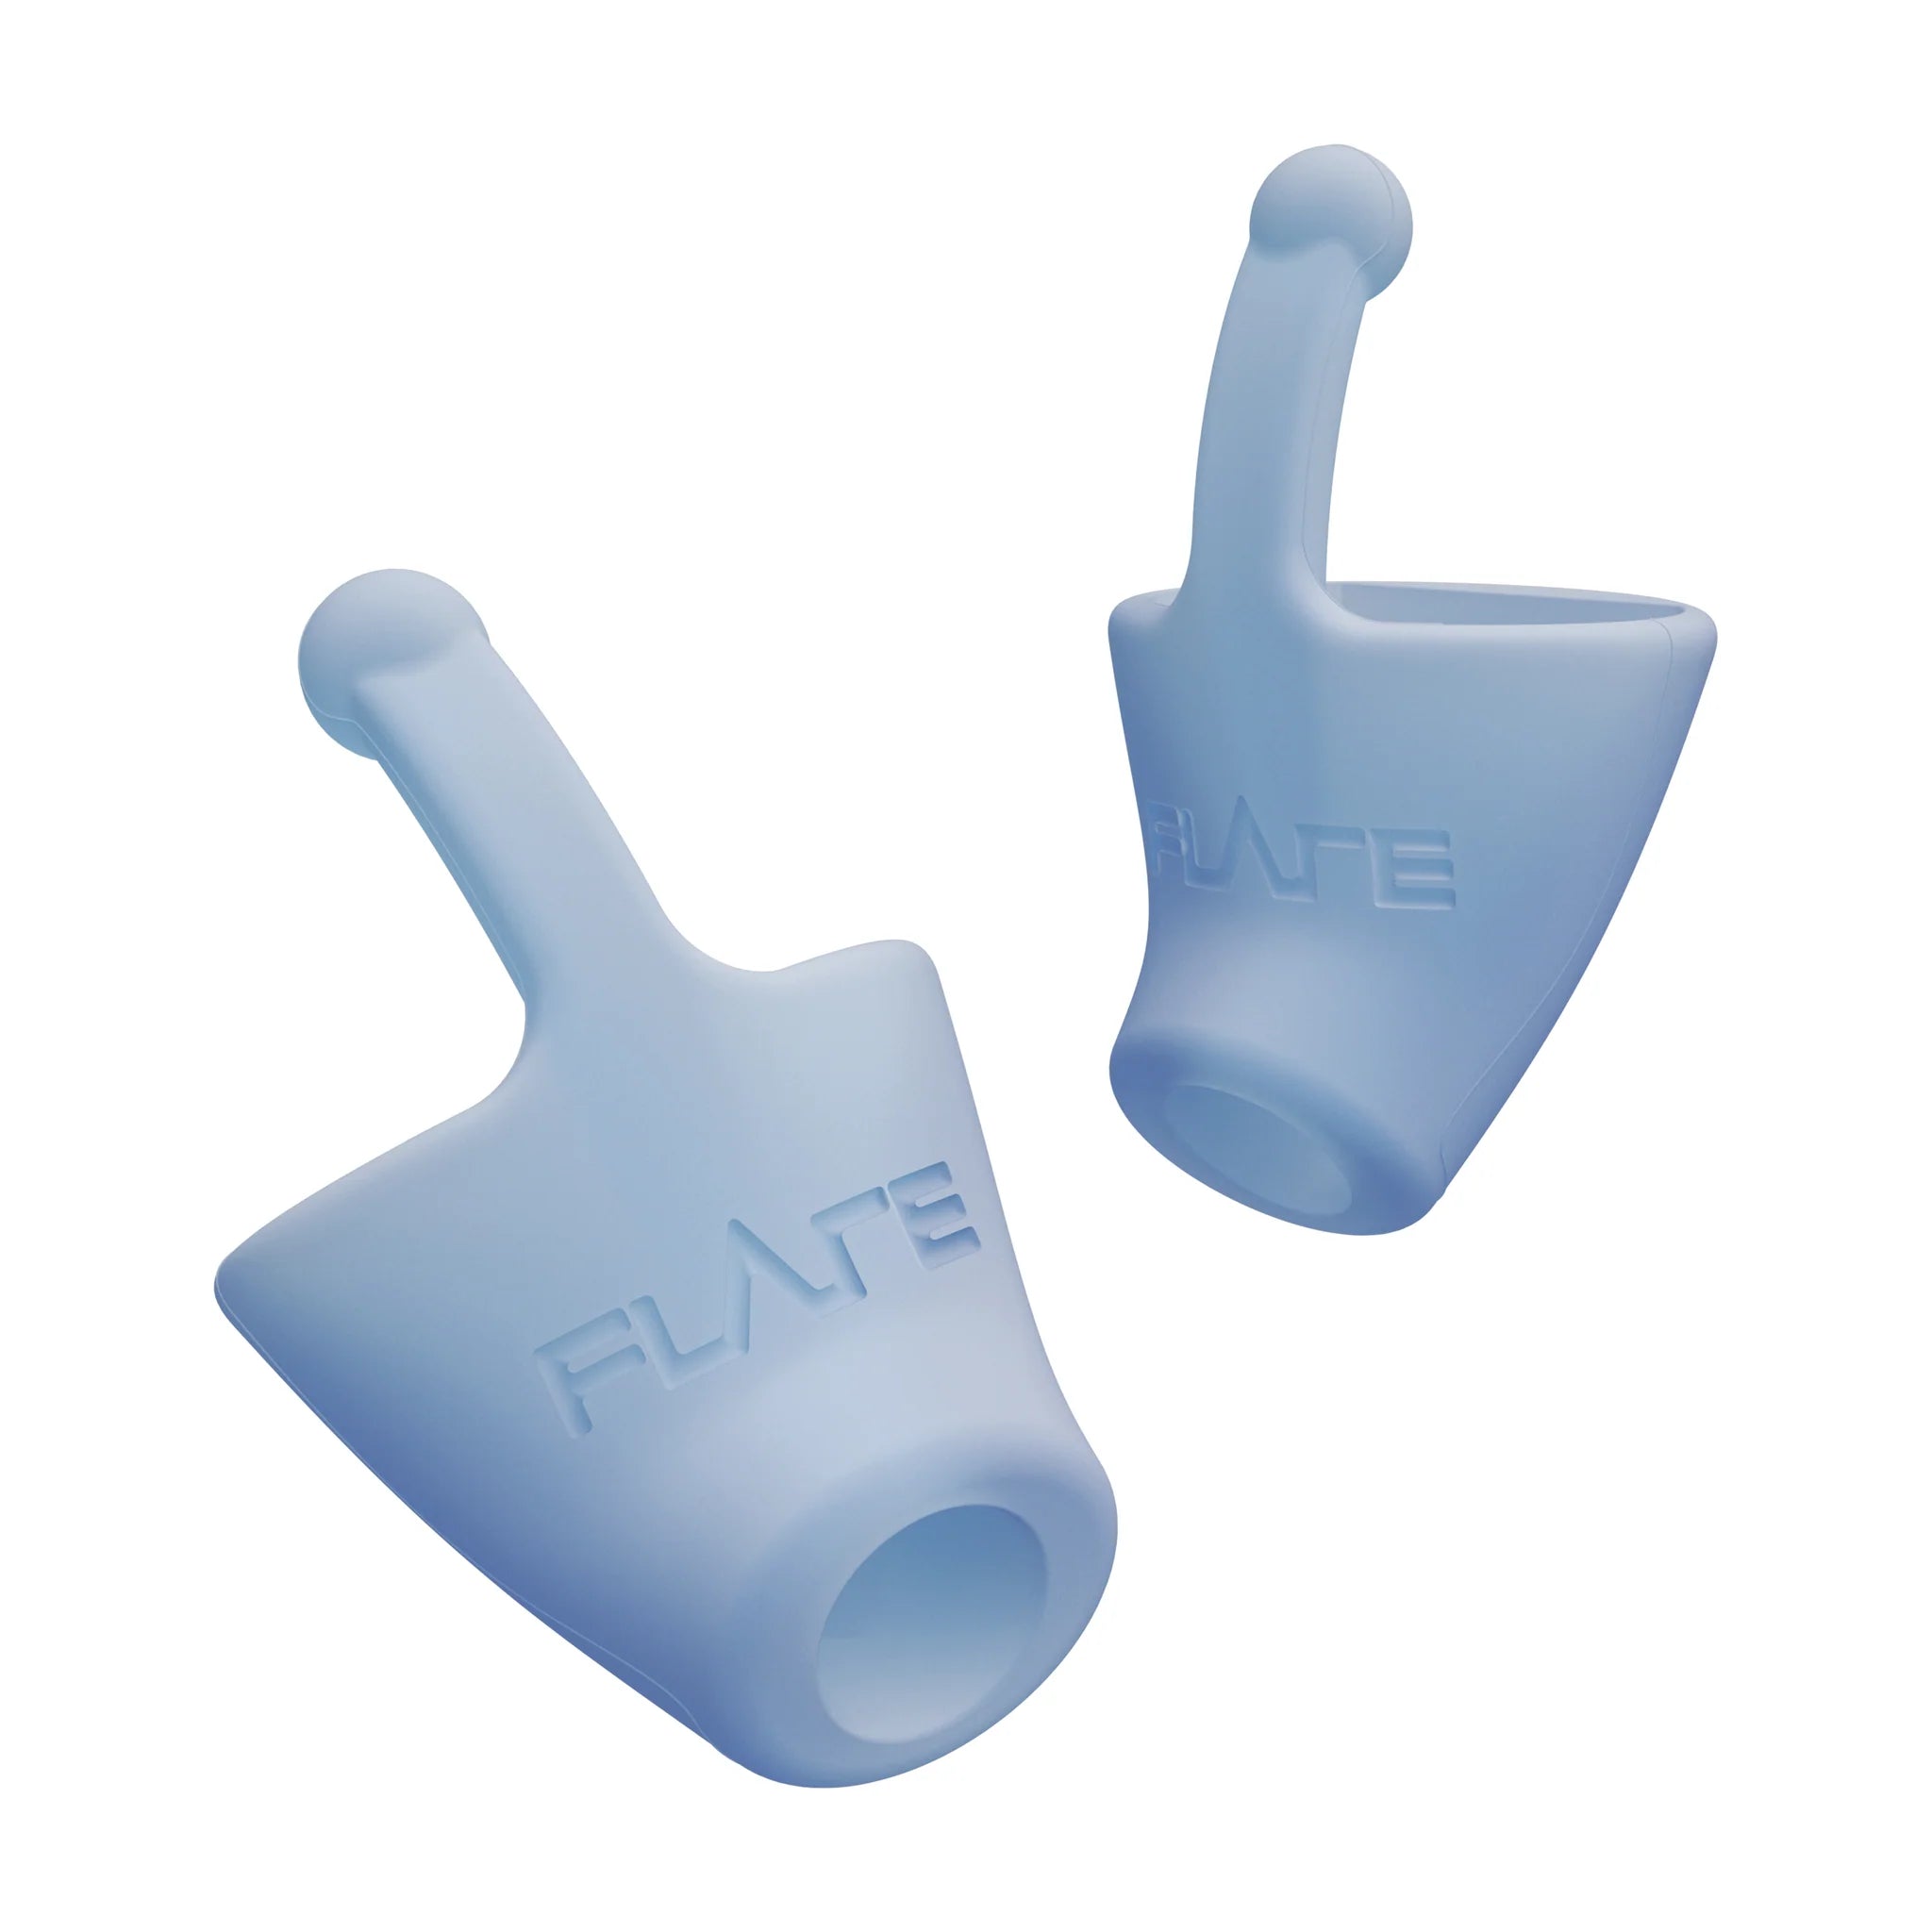
- Insert the in-ear monitor, it should fit snugly.
The in-ear monitor should fit snugly into the custom plug. If necessary you can glue it down or even use something simple like blu-tack to compress the seal (this is better if you don’t want to permanently adhere your IEM to the custom tips). 
And there you have it. You're all set to go!


