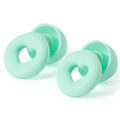
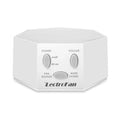
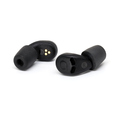
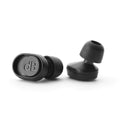
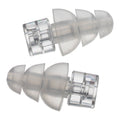
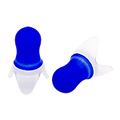
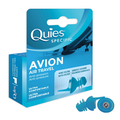
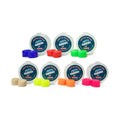
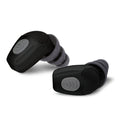
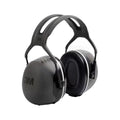
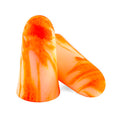
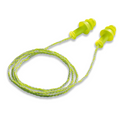
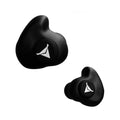
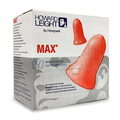
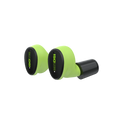
At Earjobs, we spend a lot of time representing ears at their best. We take care of ears at concerts, surfing ears, and leather-wrapped motorcycle ears. But, there’s a dark side to ears, and we’re there for them too. In this guide, we’re going to talk about earwax. What causes it, some common misconceptions about treating it, and some healthy and simple ways to manage it. One note before we begin: young children should have their earwax treated by a GP, their eardrums are a little sensitive and it pays to be careful. With that in mind, let’s push on.
Rule #1: Ditch The Cotton Tips.
If there’s one thing you take away from this guide, it’s that ears are sensitive and not to be stabbed with cotton tips (Q-tips). The issue with cotton tips is that they actually work to impact wax more severely, while it may seem that you’re removing the wax, you’re really just taking superficial surface wax while pushing the rest in deeper -- creating a greater chance of obstructing the eardrum and harming your hearing. In a worst case scenario, a cotton tip inserted too deeply will rupture the eardrum, an incredibly painful experience that will require a trip to the doctor and a lengthy recovery time.
Instead, start with drops.
The ear is naturally self cleaning, your body is generally capable of taking care of wax but in some instances this normal process is disrupted. For example, if you spend a lot of time wearing in-ear headphones, ear plugs, or spend a lot of time in the water, earwax can build-up. If you’re noticing a slight diminishing of hearing and you’re otherwise young and healthy, or beginning to see earwax on the exterior of the ear, it’s time to clean them.
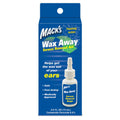
There are a variety of different eardrops on the market designed for clearing wax, in this guide we’re going with Mack’s WaxAway Eardrops. They work to soften and clear wax, dislodging particularly dense or obstructed particles, allowing your body’s natural clearing processes to handle the rest.
To use them, tilt the head and instill about five drops into the ear. Your head should be fully tilted to the side, allowing the drops to move deep into the ear. Stay like this for about five minutes and then tilt back, allowing any remaining liquid to drain out into the sink or shower. (For particularly stubborn wax, a cotton ball -- not a bud! -- can be placed to rest in the shallow entry to the ear to keep the drops in). Then do the other side. You want to do this for about three or four days, ensuring that the drops have time to really soften the wax. In a lot of cases, this will resolve the problem.
Next, flush it out.
In some cases, however, the softened wax still needs a little extra help. While it sounds scary, ear syringing is a safe, simple, water-based solution for earwax. It involves spraying water into the ear canal, which then dislodges and pushes out remaining wax. Think of it like filling a bottle: only so much liquid can fit in, forcing anything else in the bottle out. The important note here is that the syringing should only be tried after several consecutive days of using the drops. Remember: these work to soften the wax, allowing the syringe to work.
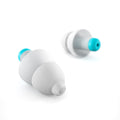
If you’ve already got the wax drops and are only looking for the syringe, Macks also stock the Mack’s Prorinse Earwax Removal Syringe. Alternatively, they stock two consolidated kits designed to include everything. One simpler and cheaper: Mack’s Waxaway Earwax Removal System. Alternatively, if you want a complete kit including ear plugs to keep the drops in, try the Mack’s Prorinse Earwax Removal System.
To irrigate, simply fill the syringe with fresh, tepid water -- it should be roughly body temperature. You don’t want it to be cold or hot, each of these can cause discomfort, balance issues, or even damage to the ear canal if it’s too hot. Instead, aim for a really mild temperature, similar to what you would use if you were giving a baby a bath. Then, placing the tip into the entrance of the ear canal, compress the syringe allowing the water to spray in and fill the ear canal. You don’t need to spray it in with all the force in the world, try for a steady, even pace. If you’re doing it yourself, you can do it in the bath or shower as a way to catch anything that spills out. Alternatively, if you’re doing it for someone else, a plastic container can catch the water run-off. (Note: the Prorinse System comes with a container for this purpose).
You should do a few sprays through of each ear, being careful not to spray too heavily. If you’re noticing any discomfort or pain, cease and see your GP. After you’ve finished rinsing the ear, you want to dry them. You can use the tip of a towel for this (remembering not to insert too deeply), tilting the head to allow excess moisture to escape. Alternatively, the Mack’s Ear Dryer can gently and safely dry even the interior of the ear canal.
Upkeep is Essential
Not everyone has earwax issues. It typically affects individuals with narrower or smaller ear canals, or individuals who spend a lot of their day listening to in-ear headphones. If you notice that you’re prone to compacted earwax, it’s important to manage it proactively to avoid situations where you need to irrigate the ear. In this case, it should be enough to use the drops about once a month for a day or two at a time. This gentle upkeep will help your ear’s natural cleaning processes.
Conclusion
Earwax can be a source of embarrassment or discomfort, but it can be treated safely and easily at home. If you’re still planning on getting your ears professionally cleaned by your doctor, it’s worthwhile to use the drops for a few days in advance. It’ll make for a more comfortable, easier appointment. Your GP will thank you for it!

